Swift Playgrounds are great and a fantastic tool to prototype and design your views in. But until recently, I’ve only been using them a lot for prototyping algorithms on models, not views, since somehow I could never get Playgrounds to show my views correctly. I’ve figured out the gotcha’s though and wanted to share them with you!
1. Making your views visible in Playgrounds
To make your views visible in Playgrounds, you need to import the module PlaygroundSupport at the top of your Playgrounds, just like you would import UIKit.
import UIKit
import PlaygroundSupport
Good, now that’s out of the way. Then, let’s make your you have your Assistant Editor visible. You can select the Assistant editor in the Xcode view modes in the top-right corner of your window, or press CMD + ALT + Return. After that, make sure your Assistant Editor is showing the ‘Timeline’ instead of some other file.

Let’s write some real code. We’ll be using the pinning convenience methods to make our AutoLayout easier. Skip to the gist to see how to use them.
First off, let’s create a black view to work in and show it in the Assistant Editor;
// Let's create a view.
let view = UIView(frame: CGRect(x: 0, y: 0, width: 300, height: 300))
view.backgroundColor = UIColor.black

// We'll be adding the rest of code here.

// Set the view to show in the Assistant Editor.
PlaygroundPage.current.liveView = view
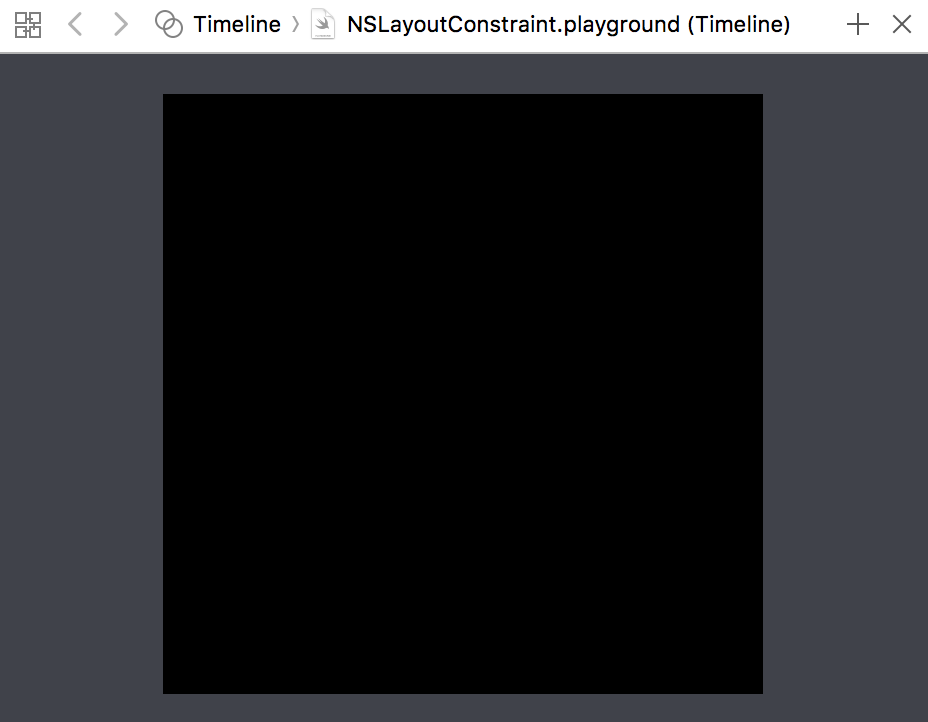
So far so good. Now, so let’s add a red view.
let redView = UIView(frame: CGRect(x: 0, y: 0, width: 100, height: 100))
redView.backgroundColor = UIColor.red
view.addSubview(redView)
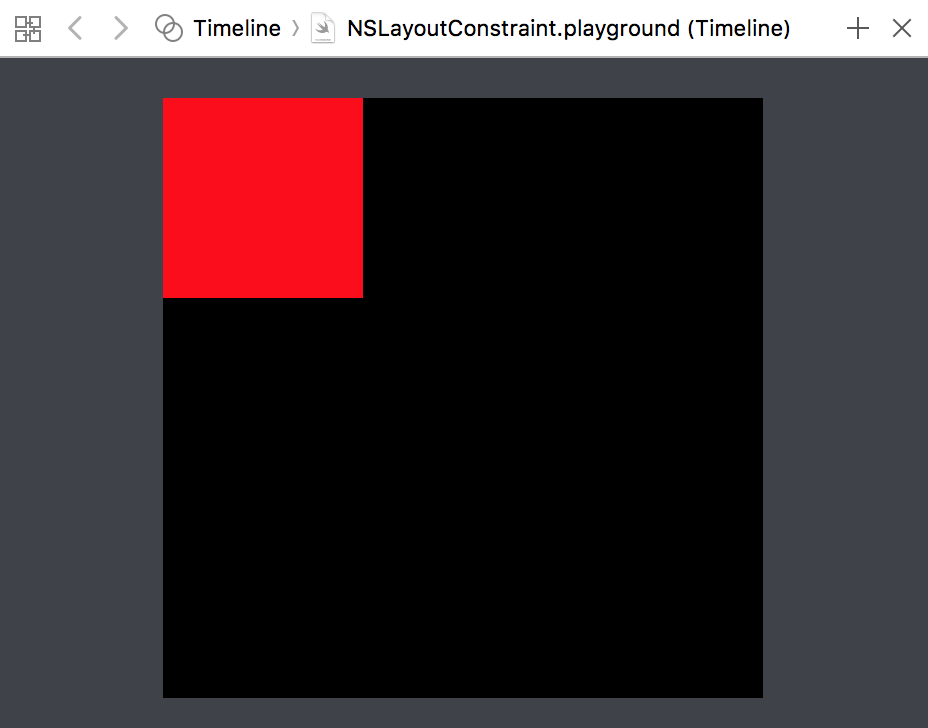
Yes! That works! Now, let’s use AutoLayout to change the view’s size.
redView.pinSize(CGSize(width: 200, height: 200))

Well, that didn’t work. Maybe setting redView.translatesAutoresizingMaskIntoConstraints off will help.
redView.translatesAutoresizingMaskIntoConstraints = false
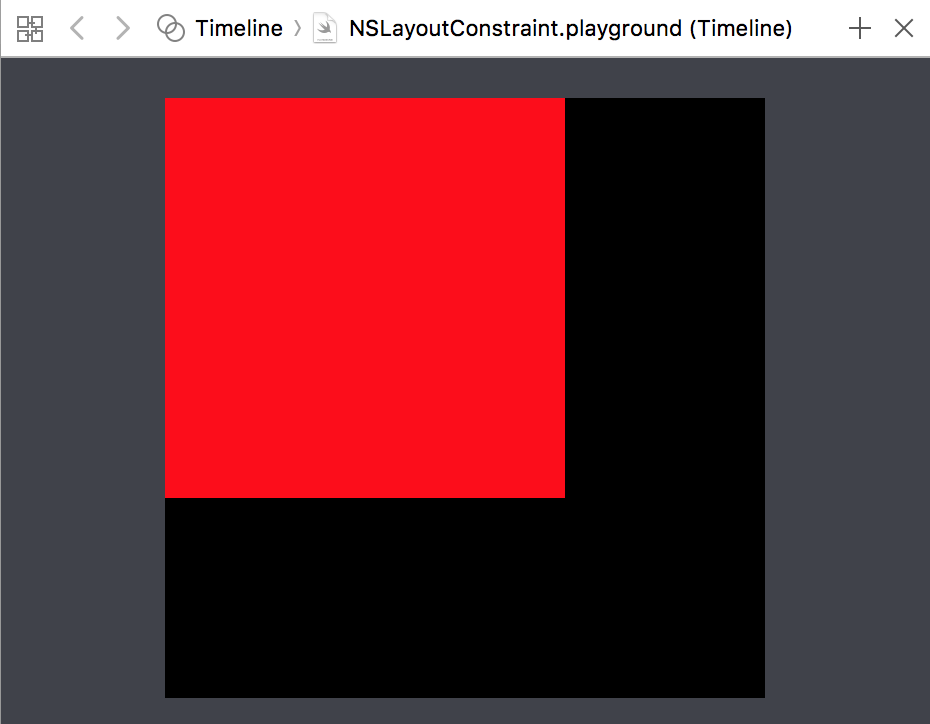
Yup, that looks better. Now, let’s setup some other views.
let blueView = UIView(frame: .zero)
blueView.translatesAutoresizingMaskIntoConstraints = false
blueView.backgroundColor = UIColor.blue
blueView.pinSize(CGSize(width: 100, height: 100))
view.addSubview(blueView)

let greenView = UIView(frame: .zero)
greenView.translatesAutoresizingMaskIntoConstraints = false
greenView.backgroundColor = UIColor.green
greenView.pinSize(CGSize(width: 75, height: 75))
view.addSubview(greenView)
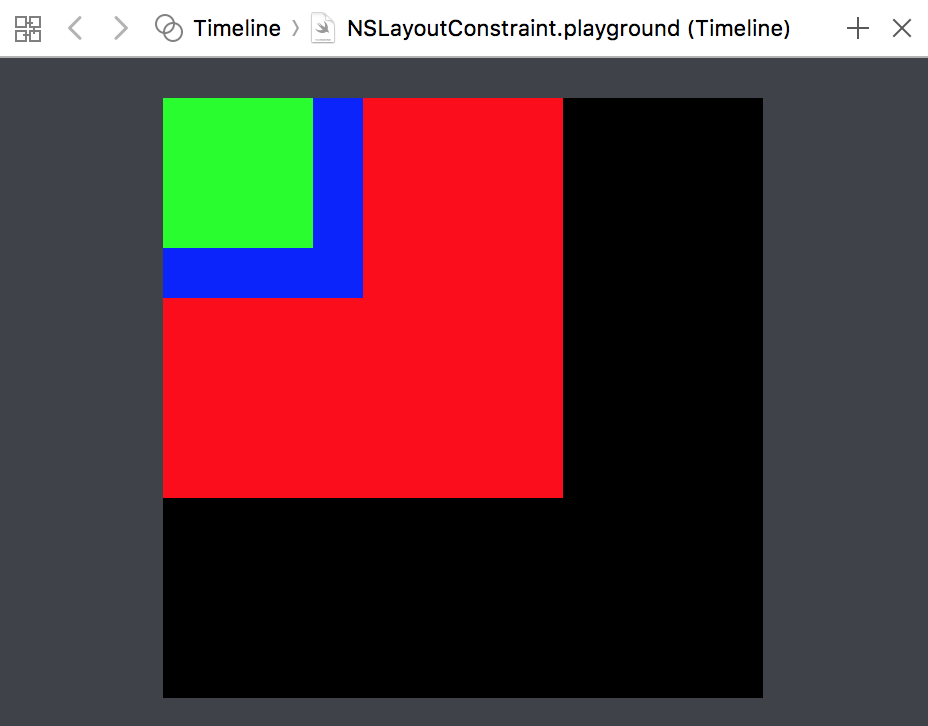
As you can see, you can quickly add some views to the composition and see your results directly. And you can add and remove constraints as you please, while still quickly seeing the results!
view.pinSubviewToCenter(blueView)
view.pinAttribute(.leading, ofSubview: greenView, toAttribute: .trailing, ofView: blueView)
view.pinAttribute(.bottom, ofSubview: greenView, toAttribute: .bottom, ofView: view, offset: -50)
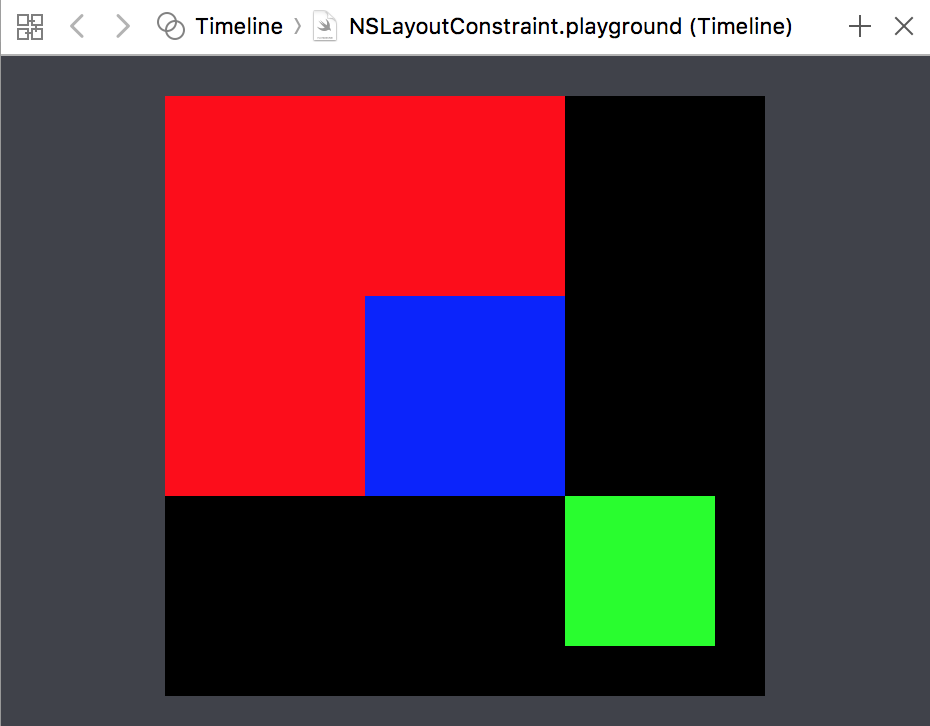
Using Playgrounds in this way allows you to quickly prototype and arrange new views. They’re great for getting that one view pixel-perfect within a very small contained set of circumstances.
While this is extremely useful, there are a couple of gotcha’s;
- Don’t forget to set
xView.translatesAutoresizingMaskIntoConstraints = false. If not, your AutoLayout will fail.- But do not do this for the view in the live view. Since that view can’t calculate anything without a superview to relate to, make sure you give the live view a regular
frame.
- But do not do this for the view in the live view. Since that view can’t calculate anything without a superview to relate to, make sure you give the live view a regular
- Sometimes your views might not layout at all. In that case, try adding a
view.layoutIfNeeded()just before adding it thePlaygroundSupport.current.liveViewto force a layout refresh. - Xcode Swift Playgrounds are still somewhat buggy. This usually manifests itself in the live view not refreshing. If you’re sure your code is correct, but that is not reflected in the live view, try cutting a significant portion of your layout code. Sometimes Xcode needs that jolt to reboot the live view’s Simulator. Afterwards, paste your code back in and if should refresh properly.
- Using a single Playgrounds file for prototyping can be annoying, since you might miss all kinds your conveniences (color helpers, fonts, etc…) that you have in your project. There are two options to fix this;
- You can add files that are compiles by your playgrounds to the Playground’s sources.
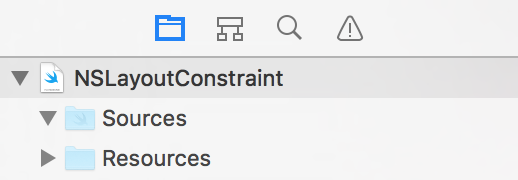
- You can use Playgrounds in your project if you set up Frameworks properly. More on this in a future blog post!
- You can add files that are compiles by your playgrounds to the Playground’s sources.
This entire playgrounds snippet (including the pinning convenience methods) can be found in this gist.
If you think the snippet is useful – or have an improvement – send me tweet or a toot!